
weather widget for your website: add it in minutes
Adding a weather widget for your website is one of those small changes that can make a surprisingly big impact. It's not just a neat visual flourish; it's a practical tool that gives your visitors immediate value and a reason to stick around. Think of it as making your site a more helpful, go-to resource in their daily lives.
Why a Weather Widget Is a Smart Website Move

Ever thought about how a simple forecast could actually improve your website? It’s about more than just showing the temperature. You’re giving your visitors context that helps them make real-world decisions, which keeps them on your pages longer and builds a real sense of trust.
For instance, a travel blog can show the real-time weather for a featured destination, helping readers decide what to pack. A local news site becomes an indispensable daily stop when it offers up-to-the-minute community forecasts. An outdoor gear shop could even get clever and recommend specific products based on the weather—like promoting rain jackets on a drizzly day.
Turning Data Into an Asset
In each of these cases, the weather widget is more than just a gadget; it becomes a genuine asset. It shows you’re thinking about your audience's needs beyond your main content. This simple act of providing relevant, timely information really resonates with people.
By integrating practical tools like weather forecasts, you shift your website from being just a source of information to a useful part of your visitor's daily routine.
The demand for this kind of integrated information is definitely on the rise. The global market for weather apps and widgets was already valued at over $1 billion in 2024 and is expected to nearly double by 2033. This reflects a clear trend: users expect and appreciate easy access to real-time data. You can dig into more data on the weather app market to see the full picture.
Here's a quick look at the practical advantages of integrating a weather widget across various site types.
How a Weather Widget Benefits Different Websites
| Benefit | Impact on Your Website | Best For |
|---|---|---|
| Boosts Visitor Engagement | Keeps users on your site longer by offering useful, glanceable information. | News portals, travel blogs, community forums |
| Enhances Practical Value | Helps visitors plan their day or make decisions directly from your site. | Event sites, local business directories, outdoor recreation |
| Builds Site Authority | Positions your site as a reliable, go-to resource for relevant information. | Real estate agencies, educational institutions, city guides |
| Drives Relevant Actions | Influences purchasing decisions or encourages attendance with contextual info. | E-commerce stores, restaurants, tourism boards |
As you can see, the right implementation turns a simple widget into a powerful tool for engagement and trust.
In short, a weather widget for your website does a few key things really well:
- Increases User Engagement: People stay longer when your site offers practical, real-time info they can actually use.
- Builds Authority and Trust: Providing helpful data shows you're a thoughtful and reliable source.
- Drives Relevant Actions: Contextual weather can nudge visitors toward a purchase or encourage them to attend an event, directly helping you meet your goals.
Choosing the Right Weather Widget for Your Site
Picking a weather widget for your website is about more than just finding one that looks cool. Let's be honest, not all widgets are created equal. The best one will feel like it was always a part of your site, not some tacked-on feature you just dropped in.
The goal is to find a widget that truly blends with your site’s design while actually being useful for your visitors.
Think about customization first. Can you tweak the colors to match your brand's palette perfectly? What about the fonts? A travel blog with a clean, minimalist vibe needs a simple, elegant widget, not some flashy block that screams for attention with clashing colors. A cohesive look is what makes your site feel professional.
Key Features to Look For
Okay, once you've nailed the look, it's all about function. What do your visitors actually need? If you run a local community events site, an hourly forecast for the next 24 hours is probably critical. But if you're a travel planning service, a 7-day outlook makes a lot more sense.
The depth of the data and how it's presented really matter.
Here are a few non-negotiables I always look for:
- Reliable Data Source: Where is the weather info coming from? Make sure it's a reputable, accurate source. Nothing tanks credibility faster than a wrong forecast.
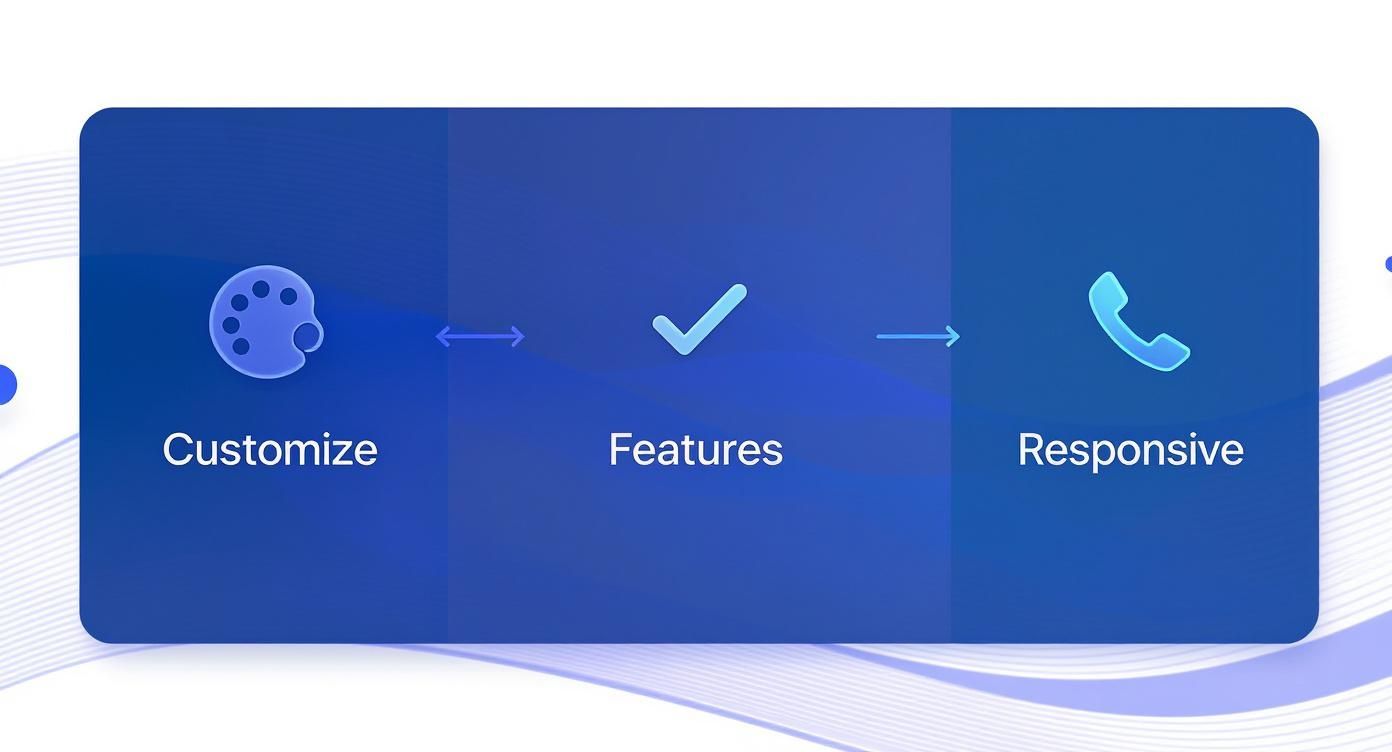
- Mobile Responsiveness: This one is huge. The widget absolutely has to look and work perfectly on a smartphone. Most of your traffic is probably mobile anyway.
- Automatic Location Detection: This is a game-changer for user experience. It automatically shows visitors the weather right where they are, making the widget instantly more relevant.
The best widgets don't just spit out data; they create a genuinely helpful experience. When a widget automatically knows a visitor's location, it goes from a neat gadget to a must-have tool.
I've noticed that the most popular widgets usually have a few things in common. They offer deep customization, support multiple languages, and are, of course, fully responsive. You can see more about what's popular by looking at trends in weather widget functionality.
Finding a tool that balances all this is the key. If you're looking for a powerful but straightforward option, I'd suggest exploring the Widgetly weather widget. It's built for deep customization without needing a single line of code, so you can get the perfect forecast on your site in just a few minutes.
Making the Weather Widget Your Own
Alright, let's get to the fun part—making your new weather widget for your website look and feel like it was built just for you. This is how you transform a standard tool into a branded element that blends right into your site's design. With a tool like Widgetly, the whole thing is visual and surprisingly straightforward. No coding needed.
Your first move is to pick a template to start with. Think of this as your foundation. Do you want something clean and minimalist? Or maybe a more detailed view with icons and a multi-day forecast? Choosing a template that’s already close to what you want will save you a ton of time down the road.
This little guide breaks down the key things to think about as you build your widget.
As you can see, a great widget is all about balancing looks, functionality, and making sure it works perfectly on any screen, from a phone to a desktop.
Getting the Look and Feel Right
Once you've got a template, it’s time to match it to your brand. This is where the color picker becomes your best friend. Instead of trying to eyeball it, you can plug in the exact hex codes from your brand's style guide. This ensures the widget’s background, text, and icons are a perfect match for your site’s palette.
After settling on colors, you need to decide what information to actually show. This is all about what your specific audience cares about. Most tools let you simply toggle different data points on or off.
Think about what makes the most sense for your visitors:
- Temperature: This is a given, but do you need the current temp, the high/low for the day, or the "feels like" temperature?
- Humidity: Super important for travel blogs, outdoor gear sites, or any business focused on activities where humidity is a factor.
- Wind Speed and Direction: If you run a marina, a drone photography business, or even a golf course, this is non-negotiable information.
- Forecast Length: A 3-day forecast is perfect for a local event website. For a travel planning portal, a 7-day or even 10-day view is much more useful.
The best part is seeing your changes happen in real time. Most widget builders have a live preview that updates instantly, so you know exactly how it will look before you commit.
Polishing the Final Details
With the big pieces in place, it's time to zero in on the small stuff. These final tweaks are what make the widget feel truly polished and professional. You can often adjust things like border styles, how rounded the corners are, and even the font.
A well-customized widget does more than just show the weather; it reinforces your brand's attention to detail every time someone looks at it.
For example, a sleek tech blog might go with sharp, square corners and a modern sans-serif font. On the other hand, a cozy bed-and-breakfast website would probably look better with softer, rounded corners and a more traditional typeface.
These choices might seem minor, but they add up to create a cohesive design. The end goal is a widget that not only gives people useful information but also makes your entire website look better.
Getting Your Widget Live on Your Website
Alright, you’ve designed the perfect weather widget. Now for the fun part: getting it onto your actual website. Don't worry, this is way easier than it sounds. You don't need to be a developer—if you can copy and paste, you've got this.
Once you’ve finished customizing your widget in Widgetly, we generate a small piece of code for you. This is your embed snippet. Just hit the "Copy Code" button, and you're ready to go.
The process is pretty much the same for any widget you create, so whether you're adding a forecast today or planning to embed a calendar on your website tomorrow, you'll already know what to do.
Pasting the Code on Your Site
So, where does this code go? It depends on what you used to build your website. Nearly every platform, from WordPress to Shopify, has a specific spot for adding custom code snippets like this. It’s usually called an "HTML block" or something similar.
Let's break it down for a few of the big ones:
-
WordPress: If you're using the standard block editor, just find where you want the widget to appear. Click the little plus (+) icon to add a new block, search for "Custom HTML," and paste the code right in there. Hit save, and you're golden.
-
Shopify: Head over to the page you want to edit. In the editor toolbar, you'll see a little code icon, which often looks like this:
<>. Click it to reveal the HTML source, then paste your widget snippet wherever you'd like it to show up. -
Squarespace: Find the spot on your page, add a new content block, and select the "Code" block. A window will pop up, and that’s where you’ll paste the snippet. Easy peasy.
The most important thing to remember is that you aren't messing with your website's core files. You're just dropping a self-contained bit of code into a safe, designated area. It’s a completely harmless and reversible action.
A Few Quick Troubleshooting Tips
What if it doesn't show up right away? Don't panic. Before you do anything else, try clearing your website's cache and then refreshing your browser. I'm not kidding—90% of the time, this is all it takes.
If it's still not there, go back and double-check that you copied the entire code snippet from Widgetly. A single missing character or bracket can break it. The quickest fix is to simply copy the code again and paste it over the old one. That almost always solves any lingering issues.
Where to Place Your Widget for the Best Results

You've got your widget ready to go, but where you put it on your site can make all the difference. The right placement can turn it from a simple add-on into something genuinely helpful for your visitors.
Most people drop a weather widget into the sidebar or footer. It’s a safe bet. This keeps it visible no matter what page your users are on. But if you want to get a little more clever with it, think about why someone would want to know the weather on your specific site.
That's when you start unlocking its real power. For instance, if you have a page for an upcoming outdoor festival, place the forecast right next to the event details. It’s an immediate, practical piece of information that helps people decide what to wear or whether to bring an umbrella. They get the info they need without ever leaving your page.
Getting Creative with Widget Placement
Let's think outside the box a bit.
If you run a travel blog, imagine showcasing forecasts for a few different dream destinations right on your homepage. Suddenly, that weather widget for your website isn't just a static box; it's an interactive preview of what your readers could be experiencing.
For a local business, try embedding the widget directly into a blog post. Writing about "The 5 Best Patios to Visit This Weekend"? Put a live weekend forecast right in the article. This makes your content feel incredibly current and useful.
The goal isn't just to make the widget visible; it's to make it relevant. Put the forecast right where your user needs it most, and you'll create a much better experience.
Ultimately, the best spot depends entirely on your website and your audience.
- For general visibility: The sidebar or a sticky header is a great choice.
- For event-specific info: Place it directly on event, booking, or registration pages.
- For engaging content: Embed it right inside blog posts, guides, or articles where it makes sense.
Have Questions About Website Weather Widgets?
So, you're thinking about adding a weather widget to your website. It’s a great idea, but I know a few questions usually come up right about now. Let's walk through the common ones so you can feel good about your decision.
Will It Slow Down My Website?
This is probably the most common worry I hear, and it's a valid one. No one wants to add a cool feature that tanks their page speed.
The good news is that a properly built widget is designed specifically to avoid this. Widgetly’s tools, for example, are lightweight and load asynchronously. That’s a fancy way of saying they load separately from the rest of your content, so your page can appear for visitors without waiting for the weather forecast to catch up. Your site stays fast.
What's This Going to Cost Me?
Budget is always a factor. You’ll find plenty of free widgets out there, but they usually come with a catch—like mandatory branding or very few customization options.
If you need more control over the look and feel, or want to remove someone else's logo, you'll want to look at premium plans. It's usually pretty affordable. You can take a look at Widgetly's pricing plans to see the different tiers and find one that makes sense for you.
A good weather widget should be a "set it and forget it" tool. The goal is to add value for your visitors without creating more maintenance work for you.
How Accurate is the Weather Data?
What’s a weather forecast if you can't trust it? A widget is only as good as the data source it pulls from.
Always make sure your chosen widget gets its information from a reliable meteorological service. When visitors see that the forecast on your site is consistently accurate, it builds a little more trust in your brand as a whole.