
Embed Calendar on Website Your Practical Guide
So, you want to get a calendar on your website. The good news is it's usually pretty straightforward. You'll either grab a direct embed code from a service like Google Calendar or use a dedicated third-party widget. The core of the process is the same: you generate an HTML code snippet and then pop it into your website’s editor. Just like that, you've got an interactive schedule live on your page.
Why a Website Calendar Is No Longer Optional
Let's be real—going back and forth over emails and phone calls to schedule anything is a massive drain on time. An embedded calendar is your secret weapon here. It turns your website from a simple online brochure into a genuinely interactive hub for your community or customers.
Think about it: your clients can see your availability and book appointments right on your site. This frees you up to do what you actually love. I've seen countless small businesses, from yoga studios to freelance consultants, use this to automate their bookings and make the whole customer experience incredibly smooth.

The Real-World Impact of an Embedded Calendar
Adding a calendar isn't just a "nice-to-have" feature; it's a game-changer for engagement and conversions. The numbers back this up. Websites that add an embeddable calendar see user engagement jump by an average of 45%. For businesses that rely on bookings, that translates into a 38% higher conversion rate. You can dig into the findings on calendar engagement on addevent.com to see the full picture.
This one simple tool helps you accomplish a few critical things:
- Automate Scheduling: It completely cuts out the tedious back-and-forth of trying to find a time that works.
- Boost Attendance: When event info is clear and easy to find, more people show up. Simple as that.
- Look More Professional: A clean, integrated calendar tells visitors you're organized and serious about their experience.
When you put your schedule right on your website, you're removing a major roadblock for your customers. You're not just showing them when you're free; you're actively inviting them to take the next step and making it ridiculously easy to do so.
In this guide, we'll walk through the two main ways to embed a calendar on your website. We'll cover the classic Google Calendar embed and then dive into some of the more powerful, feature-packed third-party widgets. Each approach has its pros and cons, and by the end, you'll know exactly which one is the right fit for you.
Picking the Right Calendar for Your Website
Before you even think about embedding a calendar, you've got a decision to make. Do you go with the straightforward, no-frills Google Calendar, or do you level up with a dedicated third-party widget? This choice is a big one, as it will dictate everything from how the calendar works to how well it blends in with your brand.
Let's break down the options.
The Case for Google Calendar
For many folks, Google Calendar is the perfect starting point. If you just need to show a public schedule—maybe for a local club, a non-profit's events, or a community noticeboard—it gets the job done. It's free, most people already know how to use it, and you can have it on your site in minutes.
The downside? Its simplicity is also its biggest weakness. Customization is practically non-existent. No matter what you do, it will always scream "I'm a Google Calendar," which can clash with your site's carefully crafted design and feel a bit unprofessional.
When You Need Something More Powerful
If your calendar needs to do more than just show dates, it’s time to look at a specialized widget. These tools are built to handle real business needs.
You'll want to go with a third-party tool if you need to:
- Let clients book appointments right on your site.
- Collect payments for classes, consultations, or ticketed events.
- Match the calendar's design perfectly to your website's branding, from colors to fonts.
- Provide a better user experience with features like event filtering, multiple layout views (like agenda or card-style), and detailed event pop-ups.
Think about a yoga studio. A simple calendar can show the class schedule, but a powerful widget lets students book a spot, pay for their session, and get an automatic confirmation without ever leaving the website. That's a huge difference.
If you’re ready to see what a more advanced tool can do, a customizable calendar widget from Widgetly is a great place to explore these kinds of features.
A basic calendar just displays information. A smart calendar widget drives action. It turns a passive schedule into an interactive tool for booking clients, processing payments, and automating your work.
To make the choice crystal clear, here’s a quick side-by-side look.
Google Calendar vs. Third-Party Widget: Which Is Right for You?
This table breaks down the main differences to help you decide where to invest your time and resources.
| Feature | Google Calendar | Third-Party Widget |
|---|---|---|
| Cost | Free | Often requires a subscription |
| Customization | Very limited | Highly customizable |
| Functionality | Basic event display | Bookings, payments, filters |
| Setup | Simple copy and paste | Easy to moderate setup |
Ultimately, the right tool depends entirely on your goals. For a simple, view-only schedule, Google Calendar is a solid, cost-effective choice. But if your calendar is central to how you run your business, investing in a feature-rich third-party widget is almost always the right move.
How to Embed Google Calendar on Your Website
For a lot of folks, Google Calendar is the go-to choice for adding a calendar to a website. It’s a fantastic free tool—it's reliable, most people already know how to use it, and you don't need any special plugins. Let's walk through the process, from getting the settings right to grabbing the code you'll need.
The very first thing you have to do is make your calendar public. If you skip this, visitors will just see an empty calendar on your site. This is easily the most common mistake people make, so let’s make sure we nail it right from the start.
Adjusting Your Calendar’s Privacy Settings
To get started, you'll need to open Google Calendar on a desktop or laptop, as you can't get the embed code from the mobile app. Look for the gear icon in the top-right corner and click it to open your Settings.
In the menu on the left, find "Settings for my calendars" and click on the specific calendar you want to put on your site. This is a super important step if you manage multiple calendars. Personally, I always suggest creating a completely new calendar just for your website. It's the safest way to avoid accidentally sharing personal appointments.
After you've picked the right calendar, scroll down to the "Access permissions for events" section.
- You'll need to check the box next to Make available to public.
- Then, use the dropdown menu to select See all event details.
This simple change allows your website visitors to actually see the names and times of your events, not just a block of time marked "busy."
Generating and Customizing the Embed Code
With your calendar now public, you're ready to get the code. In that same settings menu, click on Integrate calendar. You’ll see a few different code snippets, but the one we need is the Embed code. It's the one that starts with <iframe>.
Don't just copy it yet! First, hit the Customize button. This is where the magic happens. A new window will pop up, letting you change how the calendar looks so it fits in with your website's design. You can adjust the size, set the default view (like month or week), and even tweak the color scheme.
Here’s a look at the customization screen where you can play with all these settings.
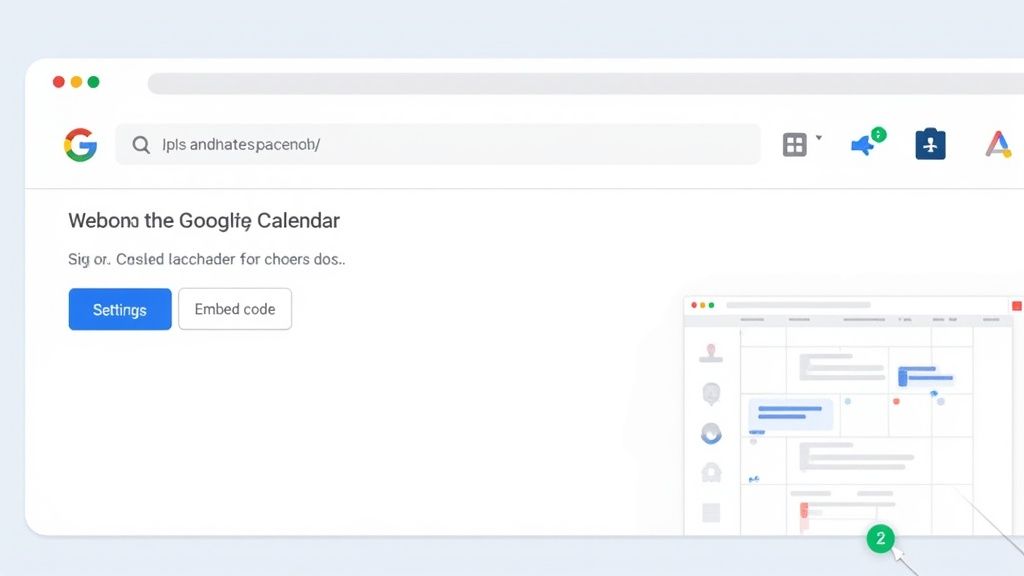
This is your chance to make sure the calendar doesn't look out of place on your site.
Pro Tip: Pay close attention to the width and height. If the calendar is too wide, it can mess up your page layout on mobile. If it's too short, it becomes a pain for people to scroll through. A good starting point is to set the width to 100% and then adjust the height until it feels right.
Once you’re happy with your changes, the HTML code at the top of that screen updates on its own. Go ahead and copy the entire code block. That's the snippet you'll be pasting into your website builder, which is the final step to embed this calendar on your website.
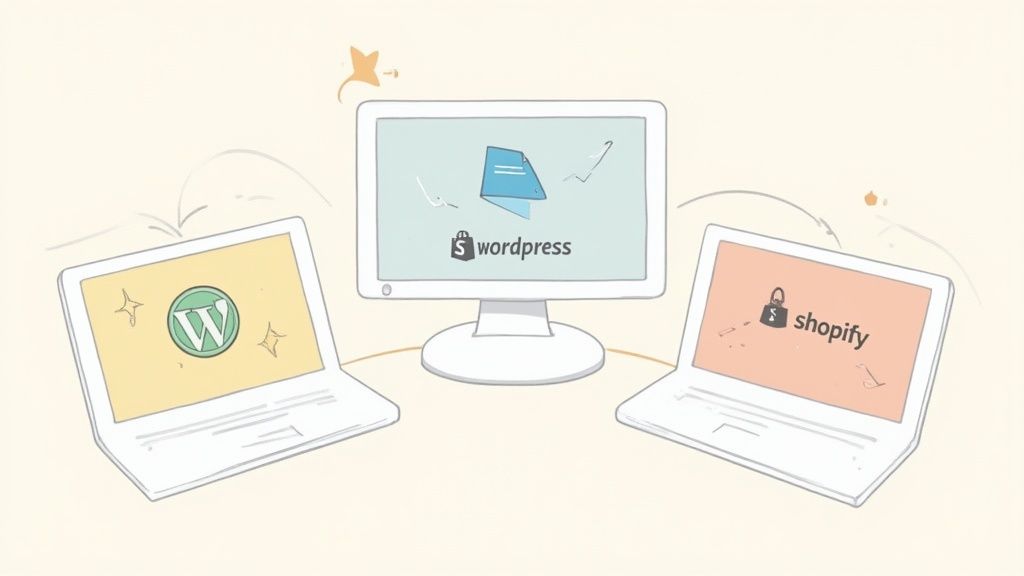
Adding Your Calendar to WordPress, Shopify, and More
So, you've got your calendar embed code. Now what? The big question is always where to paste that little snippet of HTML. While the exact steps change a bit depending on your website platform, the core idea is always the same.
Let's walk through how to get it done on some of the most popular website builders out there.
Thankfully, most modern platforms have a dedicated tool for adding custom code. This is great because it keeps everything organized and secure. You aren't actually digging into your website's core files; you're just dropping your calendar into a designated spot.
WordPress: The Custom HTML Block
For the 35% of the web running on WordPress, this is a piece of cake. If you're using the standard block editor (Gutenberg), you just need to add a specific block to your page or post.
Here’s how it works:
- Click the little plus sign (+) to pop open the block library.
- In the search bar, type in "Custom HTML" and click to add it.
- Simply paste your
<iframe>embed code right into that block.
That's it! Hit the "Preview" button, and you should see your calendar pop up exactly where you placed it. No extra plugins, no complicated tech stuff.
Shopify and Squarespace: Using Code Sections
Platforms like Shopify and Squarespace have a very similar approach, even if they call their tools something different. Both are built to make this process simple, even if you don't know the first thing about code.
- On Shopify: When you're editing a page, look for an option to add a "Custom Liquid" section. You can also click the HTML editor icon (
</>) in the text editor to switch views and paste your code there. This lets you place the calendar with pinpoint accuracy. - On Squarespace: Your go-to tool is the "Code Block." Just add the block to your page layout, paste your embed code into the window that appears, and click "Apply."
Using these dedicated blocks is the smart way to go. It keeps the calendar's code sandboxed, so it won't mess with your site's design or functionality. It's a much safer bet than trying to manually edit your theme's source files.
And this process isn't just for displaying events. If your business needs something more interactive, like an availability scheduler widget, the embedding steps are usually identical. Whether you’re using a free Google Calendar or a powerful booking tool, that final copy-and-paste step is refreshingly consistent across the board.
Making Your Embedded Calendar Look Professional
Just dropping a raw embed code onto your page and calling it a day is a rookie mistake. A clunky, out-of-place calendar can make an otherwise polished website feel amateurish. The real goal is to make it look like it belongs there, not like a tacked-on afterthought.
It all starts with visual harmony. Most calendar tools, even the free versions, give you some control over the look and feel. Take five minutes to dive into the settings and match the calendar’s colors to your brand palette. This one small tweak goes a long way in building a cohesive, professional look that visitors will trust.
Focus on Usability and Clarity
Beyond just the colors, you have to think about the actual user experience. A calendar that’s confusing or hard to use is a calendar that simply won’t get used.
One of the biggest culprits I see is a lack of mobile-friendliness. With over 50% of all web traffic now coming from mobile devices, your calendar absolutely must be easy to read and navigate on a small screen. Test it yourself!
Also, think about your event titles. "Meeting" is vague and unhelpful. Something like "Client Consultation Call" gives visitors the context they need at a quick glance. Keep it clear and concise.
Think of your embedded calendar as more than just a schedule—it’s a conversion tool. Every element, from the colors to the event titles, should guide the user toward taking a desired action, whether that's booking a class or attending a webinar.
And don't forget the call-to-action (CTA). A simple, clear button like "Book Now" or "Register Here" placed right above or below the calendar is crucial. This is what turns a passive schedule into an active tool that drives business. When you embed a calendar on your website, making it look professional and function smoothly is the key to turning casual visitors into real customers.
Got Questions? Let's Talk Calendar Embeds
Even when the process goes smoothly, a few common questions tend to crop up. Getting these details right is the difference between a functional calendar and one that’s a genuinely great experience for your visitors. Let's dig into the things people ask me about most often.
Can I Embed a Private Calendar?
This is probably the biggest one. People want to share a calendar without making their entire life public. The short answer? You can't embed a truly private Google Calendar.
For the calendar to show up for everyone on your website, its sharing settings must be set to 'Make available to public'. If you leave it set to private, your website visitors will just see an empty block where your events should be. It’s an all-or-nothing deal when you're using the standard public embed option.
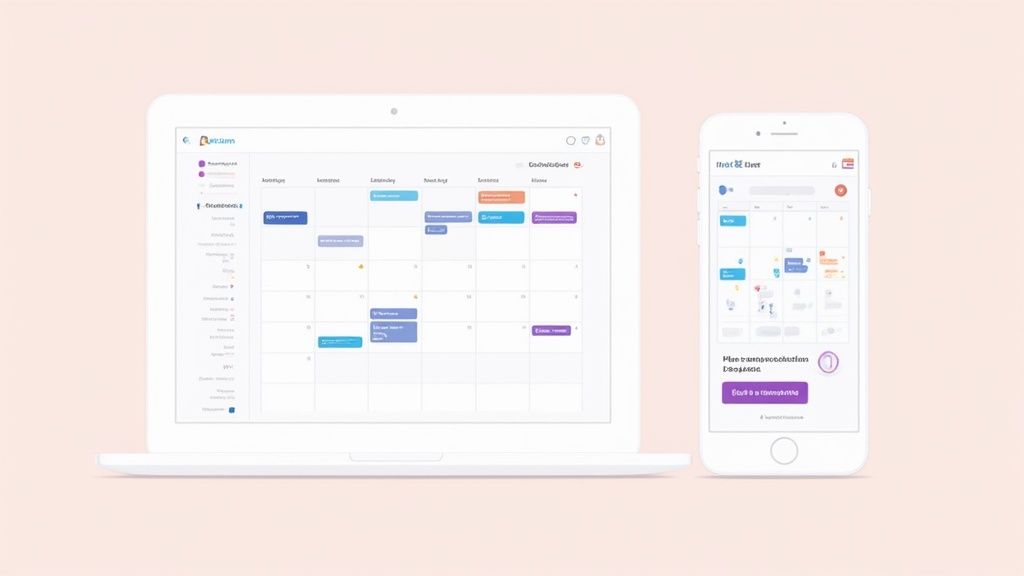
Will My Calendar Look Good on a Phone?
Nobody wants their beautifully designed site to break on a mobile device. The good news is that most modern calendar tools, from Google Calendar to specialized widgets, create responsive embed codes right from the start. They’re built to adapt.
If you happen to hit a snag and it looks wonky on a smaller screen, here are a couple of things I always check first:
- Dive into the embed code and make sure the
<iframe>width is set to 100%. Don't use a fixed pixel value like800px, as that will cause overflow issues. - Remember that good website builders like Squarespace or WordPress usually handle this for you. Just pop the code into an HTML or code block, and their platform takes care of the rest.
Do I Have to Update Events in Two Places?
This is where the magic of embedding really shines. People often worry about the hassle of keeping their website calendar updated manually. You don't have to!
The whole system is built on automatic syncing. When you add, change, or delete an event in your source calendar (like Google Calendar), the change is reflected on your website automatically. There might be a slight delay—usually just a few minutes—but you’ll never have to do the work twice.
If you’re juggling events across different platforms, you can pull them all into one place. Check out how a Notion calendar download can help you consolidate everything.
Here's the bottom line: Updates are seamless. Any event you add or edit in your calendar app will automatically show up on your website. No double entry required.
Will This Thing Slow Down My Website?
A valid concern. Site speed is crucial. While you are adding an external element that your page has to load, the impact is almost always minimal.
Calendars from major providers are highly optimized to load quickly and efficiently. If you're still worried, a simple best practice is to place the calendar a bit lower on the page ("below the fold"). This allows the most important content at the top of your page to load first, giving visitors a snappy experience right away.