Easy Notion Download MacBook | Quick Setup Guide
If you're using a MacBook, downloading the dedicated Notion app is a no-brainer. Sure, you can access it in your browser, but the native app offers a faster, more seamless experience that truly feels like it belongs on macOS. It’s the key to a much smoother and more focused workflow.
Why You Need the Native Notion App for Mac
While Notion works fine in a browser, installing the desktop app is a game-changer. Think of the browser version as a handy portal, but the native app is your high-performance command center. The difference is night and day, especially when you're juggling complex projects and sprawling databases.
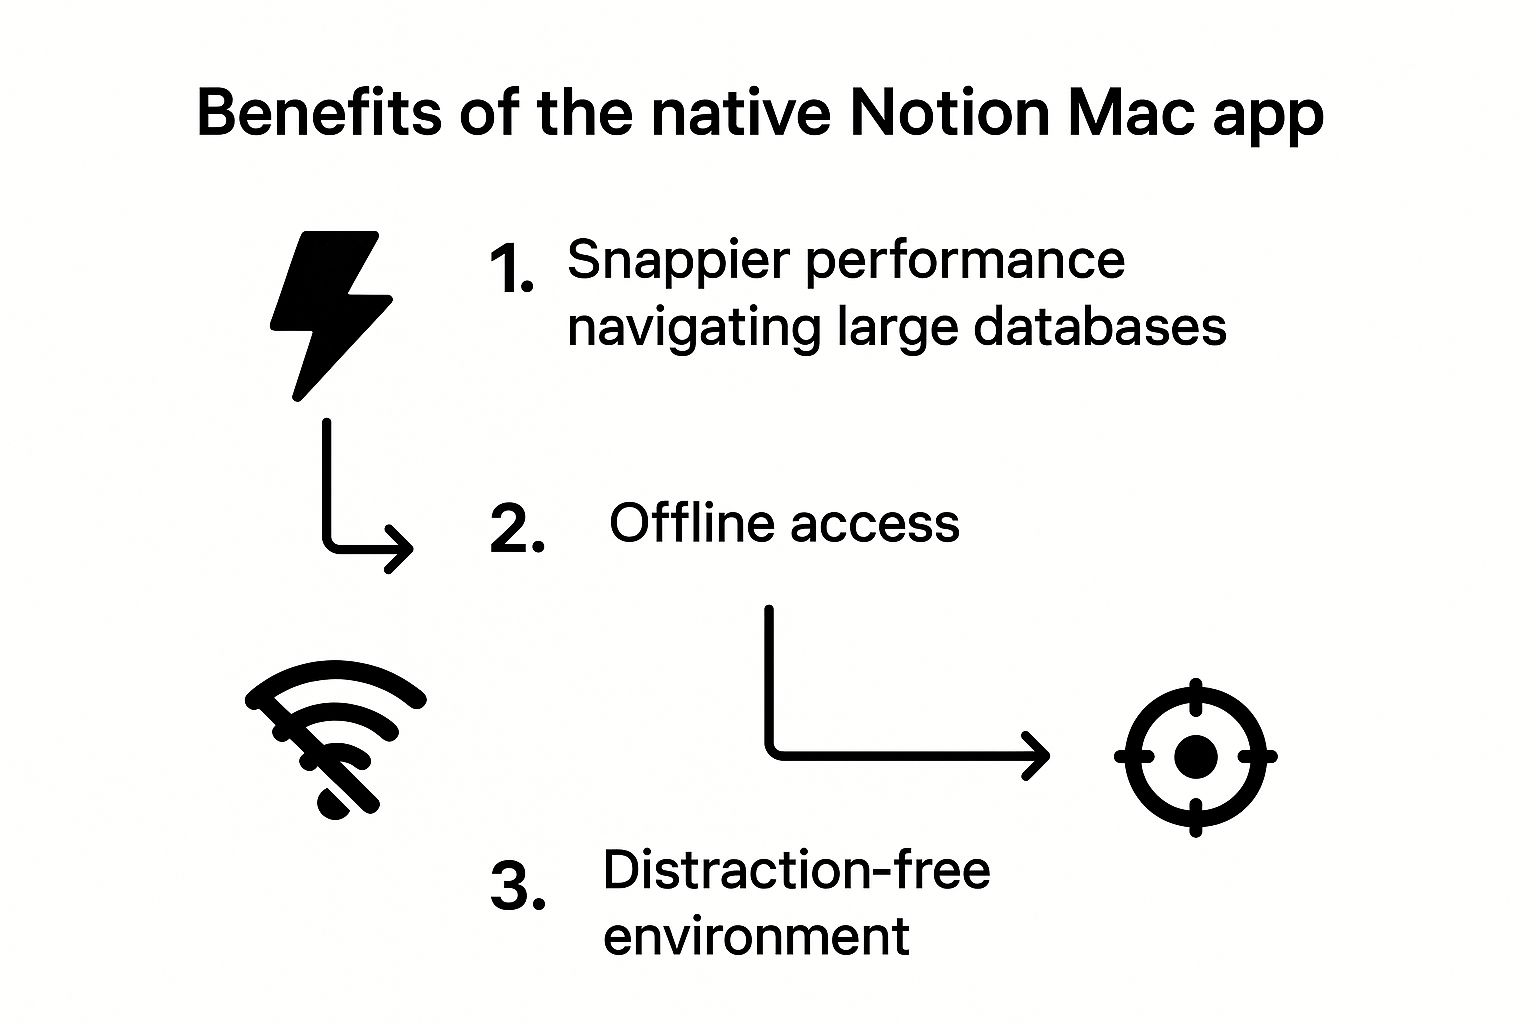
The biggest win? Speed. The app is just snappier. Navigating between pages, loading content, and searching through your workspace happens much faster because it's optimized for your Mac. You can finally say goodbye to that slight lag you sometimes get in a browser tab that’s trying to do too many things at once.
Unlocking a Better Workflow
Another huge advantage is the ability to work without the constant pull of other open tabs. The app gives you a dedicated, distraction-free space to concentrate on what matters. It's a simple change, but it makes a world of difference for deep work.
Beyond focus, the native app unlocks some powerful features you just don't get in a browser:
- Offline Access: The app caches your recently viewed pages, so you can keep working even when you're offline. Everything syncs up automatically the moment you reconnect.
- Better Notifications: Desktop notifications are integrated right into macOS, making them far more reliable and less intrusive than browser pop-ups.
- Multi-Window Support: This is a multitasking dream. You can open multiple Notion windows and place them side-by-side, making it easy to reference one page while you write in another.
It's features like these that helped Notion’s user base explode from 1 million to over 30 million between 2019 and 2022, and a huge chunk of that growth came from MacBook users. You can find more stats on Notion's incredible rise over at judkin.com.
How to Download Notion for Your MacBook
Getting Notion up and running on your MacBook is a straightforward process. You really have two main choices: grab it directly from the official Notion website or download it through the Mac App Store.
So, which one should you pick? Downloading straight from Notion's site usually gets you the latest updates the second they’re available. If you're the kind of person who loves getting new features immediately, this is your best bet. On the flip side, the Mac App Store offers a "set it and forget it" approach by handling all updates automatically in the background.
Choosing the Right Download Source
There’s no wrong choice here; it really just boils down to personal preference. To make it easier, let's break down the key differences.
Notion for Mac Download Source Comparison
| Feature | Official Website Download | Mac App Store Download |
|---|---|---|
| Update Speed | Usually gets new features and fixes first | Updates can be slightly delayed |
| Update Process | Requires manual update or in-app prompt | Updates are handled automatically by macOS |
| Installation | Simple drag-and-drop into Applications folder | Single-click installation |
| Security | Always secure from the official source | Vetted and managed by Apple |
At the end of the day, both methods give you the exact same great app. The differences are pretty minor, so just go with what feels right for your setup. For another angle on this, you can also check out our general guide on the Notion download process.
Finding the Correct File for Your Mac
Here's the good news: Notion’s website is smart. It automatically detects whether your MacBook is running on an Intel chip or a newer Apple Silicon (M1, M2, M3) and serves you the correct, most optimized version. All you have to do is hit the download button.
One crucial tip: for the best performance and security, always get your Notion download for MacBook from a trusted source. Stick to either Notion's official page or the Mac App Store to avoid fake sites that might distribute malware.
The app's popularity has exploded, especially among users between 17 and 35—a group that heavily overlaps with MacBook owners in school and creative jobs. We even see download spikes that line up with academic calendars, showing just how essential it has become for students. For more on this, you can dive into some fascinating Notion user statistics.
Once you click download, you'll get a .dmg file. Just look for it in your Downloads folder, and you’ll be ready for the next step.
Making Notion Your Own: Installation and Personalization
 Alright, you've got the
 .dmg file sitting in your Downloads folder. The hard part is over, and you're just a moment away from getting your Notion workspace up and running.
Installing apps on a Mac is refreshingly simple. Just double-click the Notion .dmg file you downloaded. A new window will pop up showing the Notion icon and your Applications folder.
All you have to do is drag the Notion icon right over to the Applications folder. And that's it! Notion is now officially installed on your MacBook. Feel free to eject the installer from your desktop and toss the original .dmg file in the trash to clean up.
First Launch and Quick Tweaks
The first time you fire up Notion, it'll ask you to either sign in or create a new account. Once you're logged in, the temptation is to dive right in and start creating pages. Before you do, I'd recommend taking just a couple of minutes to personalize a few key settings.
Trust me, these small adjustments make a world of difference in your day-to-day use.
Here are the essentials:
- Appearance: Are you a fan of dark mode, or do you prefer the classic light look? Head to Settings & Members > My notifications & settings > Appearance to switch between them instantly. Pick whichever feels best for your eyes.
- Launch at Startup: You can have Notion open automatically every time you start your Mac. I personally keep this turned off to speed up my computer's boot time, but if Notion is your central hub, you might want it on. You'll find this toggle in the same settings menu.
- Tame Your Notifications: Nothing kills focus like constant pings. Customize what you get alerted for under the notification settings. I suggest dialing them back to only the important stuff, like when someone mentions you in a comment.
Spending two minutes on these settings now saves you from a lot of small annoyances later. You're essentially building a workspace that's designed for you, which makes it so much easier to stick with.
Once you’ve got these basics dialed in, your Notion setup will feel much more comfortable and efficient. From here, you can start exploring more advanced features, like integrating a Notion calendar template to pull your entire schedule directly into your new workspace.
Mac-Specific Tips to Master Notion Faster
Alright, you've got Notion installed on your MacBook. Now for the fun part: making it work for you. Using the native Mac app is a completely different experience than running Notion in a browser—it's faster, smoother, and opens up some serious productivity hacks. These are the tricks I use every day to stay on top of my work.
One of the biggest wins is multi-window support. Instead of endlessly clicking between browser tabs, you can pop out Notion pages into their own windows. I constantly have my main project board open on one side of my screen and my daily task list on the other. It’s a simple change, but it makes a huge difference in staying focused.
Essential Keyboard Shortcuts
If you want to feel like a true Notion power user, learning a few keyboard shortcuts is non-negotiable. Putting your mouse on the back burner for common tasks will save you more time than you think.
Here are the ones I can't live without:
- Command + N: Need a new page right now? This shortcut creates one instantly without interrupting your flow.
- Command + Shift + L: Easily switch between Dark and Light Mode to match your environment (or mood).
- Command + [ or ]: Jump back and forth through your page history, just like in a web browser.
- Command + Option + 9: A lifesaver for databases. This toggles the "full page" view, giving you more room to work.
My absolute favorite shortcut is Command + P. This little command opens the quick find search bar, letting you jump to any page, anywhere in your workspace, in a split second. If your Notion setup is sprawling and complex, this is the best way to get around.
Organize for Efficiency
A cluttered sidebar leads to a cluttered mind. As your workspace grows, that list of pages can get out of control fast. My rule of thumb is to pin only my top 3-5 most critical pages to the "Favorites" section. This guarantees my main dashboard, current projects, and content calendar are always a single click away.
The popularity of Notion on MacBook has skyrocketed, which means the app gets rapid updates and solid offline access. That said, it's not perfect. Some users have pointed out limitations, like tricky PDF exports directly from the Mac app, which shows there's still room for the desktop experience to grow. You can see what other users are saying about Notion's Mac performance for a deeper dive.
To really make your workspace your own, think about adding some visual flair to keep things engaging. For some great ideas, check out our guide on using widgets for Notion to add things like interactive clocks and live weather updates.
Troubleshooting Common Installation Problems
Even a straightforward Notion download for MacBook can hit a bump in the road. It’s always frustrating when a weird error message pops up, especially when you’re just trying to get your work organized. The good news is that most of these installation headaches are pretty common and surprisingly easy to fix.
Probably the most frequent issue people run into is a security warning. Your Mac might tell you, “Notion can’t be opened because it is from an unidentified developer.” Don't panic—this isn't a virus. It’s just your Mac's built-in Gatekeeper feature being a little overprotective.
Navigating Mac Security Warnings Safely
This security setting is there to shield you from sketchy software. Since you downloaded Notion directly from the official source, you can confidently tell your Mac it’s okay to run the app.
Here’s the right way to get around that warning:
- First, open up System Settings on your MacBook.
- Head over to the Privacy & Security section.
- Scroll down a bit, and you should see a message under "Security" that says something like, "Notion was blocked from use because it is not from an identified developer."
- Right next to that message, you'll see an Open Anyway button. Click it, and you’ll just need to pop in your password to give it the final green light.
A quick pro-tip: Never set your Mac’s security to allow apps from anywhere. It’s much safer to approve trusted apps like Notion one by one. This keeps your machine secure while still letting you use the software you need.
Solving Other Common Glitches
Besides the security pop-up, a couple of other things can go wrong. Maybe the app crashes right after you launch it, or you notice your pages aren’t syncing properly between your MacBook and your phone.
If the app won't stay open, the classic "turn it off and on again" trick often works. Just restart your computer. If that doesn't solve it, try dragging the Notion app to the Trash from your Applications folder and downloading a fresh copy. A corrupted download file is a common culprit.
For sync issues, the first thing to check is your internet connection. If your Wi-Fi is solid, try forcing a manual refresh in the app with the shortcut Command + R. When all else fails, logging out of your Notion account and then logging back in usually does the trick to get everything talking again.
Got Questions About Notion on Your Mac?
Let's tackle a few of the common questions that pop up when people are getting started with the Notion download for MacBook. Clearing these up now will help you get up and running smoothly.
Is the Notion App for Mac Actually Free?
Yes, it is. The Notion app for your MacBook is 100% free to download, install, and use.
The app works with Notion's free "Personal" plan, which is surprisingly generous and powerful. For most people just organizing their own work, studies, or personal projects, this free tier is all you'll ever need. Paid plans exist, of course, but they're geared toward teams who need collaborative features or businesses that require advanced security and user management.
You can download the app and use all the core features—like creating pages, databases, and taking notes—without ever paying a dime.
Intel vs. Apple Silicon: Which Version Do I Need?
This is a common point of confusion, but thankfully, it's pretty easy to solve.
If you bought your Mac after late 2020, you almost certainly have an Apple Silicon chip (like an M1, M2, or M3). To double-check, just click the Apple icon in the top-left corner of your screen and choose 'About This Mac.' The window that appears will tell you exactly which 'Chip' or 'Processor' your machine has.
Even better, the official Notion download page is smart enough to detect your system automatically. In most cases, it will just hand you the right file without you having to think about it.
Can I Really Use Notion Offline on My MacBook?
You bet. This is one of the biggest perks of using the dedicated Mac app instead of just opening Notion in a web browser.
The app keeps a local cache of the pages you've recently worked on. This means you can open, read, and even edit those pages when you're completely offline. Think of working on a flight, on the subway, or from a cafe with unreliable Wi-Fi—it just works.
As soon as you're back online, Notion syncs everything up automatically. Any changes you made offline will be pushed to the cloud and pulled down to your other devices.